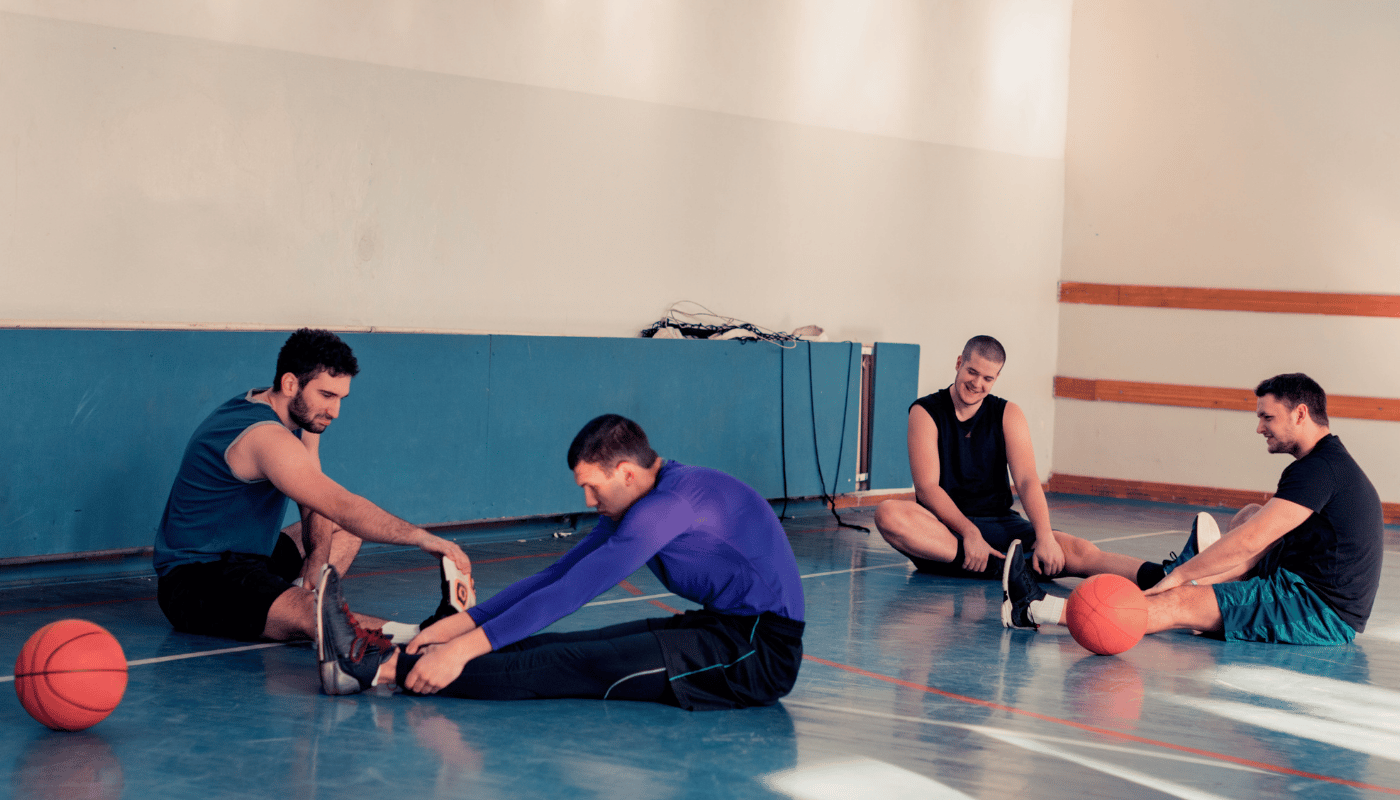

Basketball is a game that accommodates players of all ages and skill levels, and having the correct hoop height is essential for both safety and skill development. Young children and beginners often need a lower hoop to practice shooting mechanics, while more advanced players benefit from regulation height settings to refine their technique. An adjustable hoop allows families, schools, and training centers to cater to different players, ensuring everyone can participate in a way that suits their abilities.
The ability to modify the height of a basketball hoop is particularly useful for progressive skill-building. Lowering the hoop for younger players allows them to build confidence, develop proper shooting form, and enjoy the game without unnecessary frustration. As players grow older and stronger, gradually increasing the height helps them adapt to more challenging conditions, ultimately preparing them for standard game settings. Proper height adjustments create a balanced learning environment where every player can improve at their own pace.
Understanding how to adjust basketball hoop height correctly ensures not only an optimal playing experience but also the longevity of the equipment. Incorrect or forced adjustments can damage the mechanism, making it difficult to modify the height in the future. By following the right procedures and maintaining the system properly, players and coaches can ensure that the hoop remains functional, safe, and enjoyable for years to come.
Essential Tools
Before adjusting your basketball hoop, it’s crucial to gather the right tools. Using the correct equipment ensures that the process is smooth, safe, and effective. Having the right tools on hand makes the job easier and minimizes the risk of damage to the hoop or the surrounding area.
Here’s a list of essential tools you’ll need to adjust your basketball hoop height:
- Wrench Set: For loosening and tightening bolts.
- Screwdriver: To remove or secure screws.
- Tape Measure: To ensure the hoop is at the correct height.
- Ladder: To reach the adjustment mechanism if the hoop is too high.
- Lubricant: For smooth movement of the height adjustment mechanism.
These tools are commonly used in most adjustment procedures. The wrench set and screwdriver are especially crucial because they help you manipulate the bolts and screws that secure the hoop to the pole. A tape measure is vital to ensure the hoop is adjusted to the correct height for the desired difficulty level.
After gathering the tools, ensure you’re working in a safe area where you have enough space to move around without obstruction. Using a sturdy ladder is important, especially when working with higher hoops, to prevent falls or injury. You should also check that the hoop’s adjustment mechanism is clean and free of rust or debris that could hinder movement. If necessary, lubricate the parts before beginning the process to make the adjustments smoother.
By preparing the right tools and ensuring a clean workspace, you’ll be ready to adjust the hoop efficiently and safely. How to adjust basketball hoop height depends largely on having the proper tools and a secure setup.
Safety Precautions
When adjusting the height of a basketball hoop, it’s important to prioritize safety to avoid accidents, injuries, and damage to the equipment. Adjusting the height of the hoop can be physically demanding, and working with tools and elevated equipment adds an element of risk. By following some essential safety guidelines, you can minimize these risks and ensure the process goes smoothly.
Preparing The Workspace
Before starting the adjustment, it’s important to clear the area around the basketball hoop to make sure you’re working in a safe environment. Remove any obstructions or debris that could pose a tripping hazard. Whether you’re adjusting the hoop in a driveway, backyard, or gym, make sure there’s enough space around the area to maneuver freely and access the hoop from all angles. The ground should be stable and level. If there are rocks, sticks, or other objects in the way, they should be cleared. This will allow for safe and comfortable movement during the process.
If you are working outdoors, ensure that the weather conditions are favorable. Avoid working in extreme weather, such as rain or high winds, as these conditions can make the task more dangerous. Wet surfaces can cause slips, and gusty winds can destabilize ladders or affect the stability of the hoop.
Using The Right Tools And Equipment
One of the key elements in safely adjusting your basketball hoop height is using the proper tools. For the most part, you will need a wrench set, screwdriver, tape measure, ladder, and lubricant. It’s important to make sure that these tools are in good working condition before you begin. Inspect the wrench and screwdriver for any wear and tear, and check that the tape measure is functional. If you are unsure about the condition of any tools, replace them before proceeding.
Using faulty or inappropriate tools can result in slips, scratches, or even mechanical issues that can make the hoop adjustment more difficult. When adjusting the hoop, the use of a ladder is often required, especially for higher adjustable systems. Choose a ladder that is sturdy and in good condition. A ladder with a wide base provides better stability, and it should always be placed on a flat surface.
Ladder Safety
If your basketball hoop requires the use of a ladder, follow ladder safety guidelines to avoid accidents. Always position the ladder on a solid, level surface, and make sure it is angled correctly, typically around 75 degrees, to ensure maximum stability. A ladder that is too steep or too shallow can easily tip over. Never lean too far over the edge of the ladder or try to reach too far. Instead, reposition the ladder to avoid stretching or overextending yourself, which could lead to a fall. If possible, ask a friend or family member to hold the ladder while you adjust the hoop. Having an extra person there adds another layer of stability and helps keep the ladder steady.
In addition to ensuring that the ladder is properly positioned, it’s important to wear safety gear. Gloves can protect your hands from rough edges on the hoop or tools, while safety goggles can prevent dirt or debris from entering your eyes, especially when you’re using a wrench or screwdriver to adjust the mechanism.
Ensuring Proper Height Adjustment
As you begin the adjustment, be sure to follow the manufacturer’s instructions on how to adjust the height properly. The mechanism that controls the height must be adjusted carefully to avoid damage. If the system is stuck or hard to adjust, don’t force it—check for obstructions, or consider using lubricant to smooth the movement. It’s also important to ensure that all bolts and screws are tightened securely when finished. A loosely tightened hoop can lead to instability, making it a safety hazard.
By taking the proper precautions and following safety guidelines, adjusting your basketball hoop height becomes a manageable and risk-free task. Whether you’re adjusting it for a younger player or challenging an adult’s skills, how to adjust basketball hoop height safely ensures an optimal playing experience and avoids unnecessary injuries or damage.
Getting Ready For A Smooth Adjustment
Before beginning the process of adjusting your basketball hoop, taking the time to prepare the area and gather the necessary tools is essential. Proper preparation can help you avoid unnecessary delays and minimize potential problems during the adjustment. Having everything ready and ensuring the space is safe will make the process smoother and more efficient.
Start by clearing the area around the hoop. Ensure the space is free of any objects, debris, or obstacles that could create a tripping hazard or interfere with your tools. Whether you are adjusting the hoop in your driveway, yard, or court, it’s important to have a clean, clear area to work in. Make sure the ground is level to keep the ladder steady and to avoid accidents while you’re adjusting the height of the hoop.
If you’re working outside, take the weather conditions into consideration. It’s best to avoid adjusting the hoop during adverse weather conditions like heavy rain or wind, as these can make the task more difficult and dangerous. A dry and calm day is ideal for making adjustments, as it reduces the risk of slips or losing your balance while handling tools or standing on a ladder.
Once the space is clear and the weather is suitable, gather the necessary tools. These will typically include a wrench set, screwdriver, tape measure, a ladder, and lubricant. Make sure that all your tools are in good condition and ready for use. It’s also essential to have someone assist you, especially if the hoop is at a higher height, as an extra pair of hands can make the task safer and easier.
| Tool | Purpose |
| Wrench Set | Used for loosening and tightening bolts |
| Screwdriver | To remove or secure screws on the hoop |
| Tape Measure | Ensures the hoop is adjusted to the correct height |
| Ladder | Allows access to higher adjustable hoops |
| Lubricant | Helps ease the movement of the height adjustment mechanism |
After the tools are gathered and the area is prepped, it’s time to inspect the hoop itself. Check the mechanism for any issues, such as stiffness or signs of rust. If necessary, apply lubricant to ensure smooth operation during the adjustment. A well-maintained hoop will make the process much easier and more efficient, allowing for safe and successful adjustments.
Once everything is prepared, you are ready to begin the adjustment process. Following these steps helps ensure that the task is completed safely, efficiently, and with minimal risk of injury or equipment damage.
Adjustment Procedure
Adjusting the height of a basketball hoop may seem like a simple task, but it requires careful attention to detail to ensure accuracy and safety. Whether you are lowering the hoop for younger players or raising it for competitive games, following the correct procedure will help maintain the hoop’s stability and durability. Using the right approach prevents unnecessary wear on the system and ensures that the hoop remains secure after adjustment.
Step-By-Step Adjustment Process
Before making any changes, it’s important to identify the type of adjustment mechanism your hoop has. Some basketball hoops use a simple telescoping pole system, while others feature a crank handle, pneumatic lift, or a push-and-pull lever. Understanding how your specific system works will make the adjustment process much easier.
Begin by locating the adjustment mechanism, which is usually near the back of the backboard or along the support pole. If your hoop has a crank or handle, turn it slowly in the appropriate direction to raise or lower the height. In telescoping systems, loosen the securing knob or latch, slide the pole to the desired height, and then firmly secure it in place. For hydraulic or pneumatic models, pressing the release button while applying gentle pressure will allow smooth height modification.
Throughout the adjustment, be mindful of the hoop’s stability. If the system becomes stuck or resists movement, avoid using excessive force, as this could damage the components. Instead, check for rust, debris, or worn-out parts that might be interfering with the mechanism. Applying lubricant to moving parts can help restore smooth operation.
Once the hoop is set to the desired height, take a step back and confirm that it is level and properly secured. If the system appears unstable or wobbles when lightly pushed, recheck all bolts, screws, and locking mechanisms. Loose components can lead to dangerous conditions, especially during intense gameplay. Properly securing the system ensures the hoop remains steady and safe to use.
Making regular height adjustments can extend the lifespan of the hoop, allowing different players to enjoy the game at an appropriate level. How to adjust basketball hoop height properly requires patience and precision, but following these steps ensures that the process is efficient, safe, and effective.
Common Problems When Adjusting A Basketball Hoop
Adjusting the height of a basketball hoop should be a straightforward process, but sometimes unexpected issues arise that make the task more challenging. From stuck mechanisms to loose bolts, these problems can hinder the adjustment process and, if not addressed properly, may even cause long-term damage to the hoop. Understanding these common issues and knowing how to handle them can make height adjustments smoother and prevent frustration.
Below is a list of the most common problems encountered when adjusting a basketball hoop:
- Stuck Adjustment Mechanism – Sometimes, the height adjustment system becomes stiff or completely jammed, making it difficult to move the hoop up or down.
- Loose or Missing Bolts – Over time, bolts and screws may loosen due to frequent adjustments or exposure to the elements.
- Rust or Corrosion on Moving Parts – If the basketball hoop is exposed to rain and moisture, rust can form on the height adjustment mechanism, preventing smooth movement.
- Unstable Hoop After Adjustment – After changing the height, the hoop may wobble or lean if not secured properly.
- Broken or Worn-Out Adjustment Handle – In some systems, the adjustment handle or crank may wear out, making it difficult to operate.
One of the most frustrating issues is when the adjustment mechanism gets stuck. This often happens due to accumulated dirt, lack of lubrication, or rust buildup inside the moving parts. To avoid this, regular maintenance such as applying lubricant and cleaning the system should be done periodically. If rust has already formed, using a rust remover and a wire brush can help restore smooth operation.
Another common problem is an unstable hoop after adjustment. This usually happens when bolts or locking mechanisms are not tightened properly. Checking all screws, nuts, and fasteners before and after making adjustments can help prevent the hoop from shifting or wobbling during play. If any bolts are missing, replacing them immediately is crucial to maintaining the hoop’s stability and safety.
By identifying these common problems early and addressing them promptly, the adjustment process becomes much easier. Routine maintenance and proper handling of the adjustment mechanism can help prevent these issues from occurring, ensuring that the basketball hoop remains in excellent condition for years to come.
Ensuring A Properly Adjusted Basketball Hoop For The Best Playing Experience
A well-adjusted basketball hoop can significantly impact the quality of the game, whether it is for casual play, training, or competitive matches. Ensuring that the hoop is set at the correct height allows players to develop their skills effectively and enjoy a game that matches their level of ability. Whether the hoop is being lowered for younger players or raised for a more challenging experience, precision in adjustment is crucial for maintaining fair play and enhancing performance.
Aside from improving gameplay, regularly checking and adjusting the hoop also contributes to its longevity. Over time, frequent changes in height, weather exposure, and natural wear and tear can affect the system’s functionality. Keeping all bolts tightened, ensuring the adjustment mechanism operates smoothly, and inspecting the hoop for signs of instability will prevent potential damage. How to adjust basketball hoop height properly and securely ensures that the system remains safe for everyone using it.
By following the correct adjustment steps and taking care of the equipment, players can maximize their experience on the court. A sturdy and correctly set hoop allows for enjoyable and safe play, reducing the risk of injury and making every game more satisfying. Whether for training or recreation, maintaining an optimal hoop height creates the best conditions for players of all levels.